I once heard a quote that has forever stuck with me. “Do what you love and you’ll never work a day in your life”. That pretty much defines projects like this one out in Normandy Park, WA awhile back. Way too much fun. The task was to build a marble fireplace facing that fit the custom scale requirements for the new fireplace, a flat panel TV, and the surrounding area of the room. We also needed to capture the essence of a detail relief the client and designer had seen in a more expensive precast concrete package that was too large for the application. The material used was
2cm honed Moresco marble (Italy) that offered great subtle movement and an excellent color for the design accents. Unfortunately we didn’t take a lot of progress pictures and the ones we did take were with a phone camera so they’re not as clean as they should be. However, here are a few pictures as well as some comments on the project as it progressed.
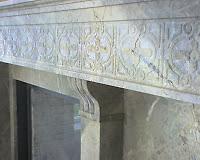
A main design feature for this fireplace was the graphic relief detail on the mantle above the fireplace.
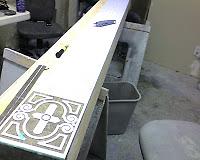 This detail was a combination of sandblasting and hand carving to give it a warm hand crafted feel. The first step was to apply a digitally produced template overlay onto a sticky backed rubber sandblast matte. While we could have had this pattern cut on a CNC knife, it would have lacked the personal hand cut look that best suited this piece.
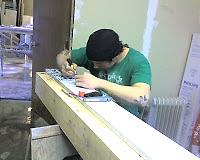 It took a few hours of steady hand work but eventually all of the matte was cut and peeled to expose the marble areas we wanted to sandblast. After sandblasting and much clean up, we applied many more hours of hand work to sculpt and shape the features giving it that personal hand crafted look.
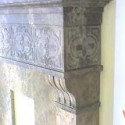
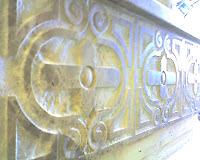 The detail and texture can be seen in this lighted side photo of the mantle, after the hand work was applied and just before the upper detail marble trim was added.
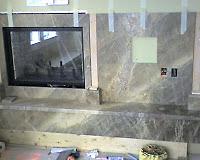 On site, the package starts to take shape. The two back panels were installed above the lower floating hearth and hearth face. Notice the slab movement flows through the entire assembly. At this point, you can see the column bases are set in preparation for the columns and capitals.
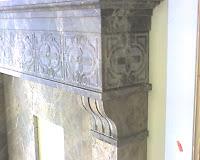
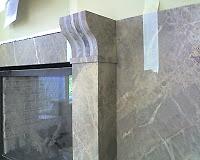 The columns are set and the capitals will be acting as corbels to support the mantle above. The columns are all meticulously assembled using mitered seems and wrapped around a sub-structure. Mitering allows us to capture the movement of the slab all the way around it. The capitals are an assembly of layers with the alternate layers milled and blasted providing great visual texture and also hide the actual assembly seams.
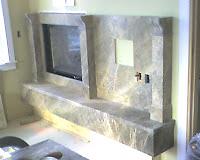 Here on the left you can see the assembly just prior to the installation of the mantle.
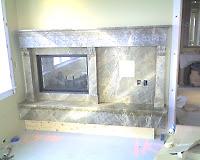
The image to the right is a front view of the entire assembly. The open area to the right of the fireplace is where the flat screen will be mounted by other technicians later.
The close up views below show the detail of the carved relief, trim, and columns. Of course, we welcome your comments and even any questions you may have.


Sorry, comments are closed for this post.